I share..... in this space links, ideas and tutorials with you on a daily basis
welcome
Welcome in my special space - get yourself a cuppa and stay for a while!!
Please leave a comment, that way I get to know you too...
Saturday, 31 December 2011
Monday, 26 December 2011
4 step fabric flower tutorial from FAVECARAFTS
Four Step Fabric Flowers
By: Jennifer Juniper of Hope Studios
Here is a great little project to liven up your wardrobe: Lovely Fabric Flowers. Embellish a shirt, dress up a pair of heels, or wear it as a pin. These four-step fabric flowers are versatile for everyday dress and a night out.
Materials:
- Synthetic satin/chiffon fabric that will melt
- Candle
- Sharp scissors
- Needle and thread
- Seed beads
Steps:
- Begin by cutting several circles from your fabric; these will be your petals. It doesn't have to be perfect, just a general circular shape. The more layers, the fuller your flower! Make each circle a bit smaller than the last - and if you are planning on needing a pair, cut out two of each size at once by folding the fabric in half. This way, your flowers will match.
- Hold each circle of fabric over the flame until it begins to melt the very edges. Keep it moving, do it quick! It takes a light touch but once you get the hang of it, it's like riding a bike.
Note: See how the melted edges cause the petal to cup? It's cool. It's nestable now! Do you have some stubborn edges that are hard to reach? Try using a hand held lighter like this to catch those trouble spots.
- Now, nest your petals together. You can stick with one color and texture or mix it up! I got wild and crazy by mixing satin in brown and blue and some chiffon in black.
- Now, with your needle and thread, sew up through the layers. String three seed beads onto the thread, then stitch back through the layers. You've just attached all your petals and gussied it up a bit. You can hit any odd edges with the hand held lighter after you've finished.
Okay, now you have some lovely fabric flowers...So what? Well, come on, girl! Use your imagination!
Read more about Jennifer, author of this craft tutorial, a Featured Craft Designerat FaveCrafts!
free crochet patern from Tip Junkie
You will need:
- size 3 crochet thread (I used a glitter white color, Red Heart)
- #5 (1.90 mm) metal crochet hook
Chain 2, sc 8 into 2nd chain from hook. Join with slst into first sc.
Round 2
work 2 dc into each stitch (16 dc) join with slst.
Round 3
Chain 7 *skip next dc, work 2 dc into next stitch chain 4** repeat from *to **. Work one double crochet in stitch next to the 7 chains join with a slst into 3rd chain. (this makes 8, dc 4chain loops.)
Round 4
*sc 3 into chain 4 space, chain 3, sc 3 into same 4 chain space** repeat from *to**. Join with slst into first sc. Leave the tails long to make a loop to hang on tree or to tie onto stocking.
Abbreviations:
dc-double crochet
slst-slip stich
sc-single crochet
You may want to iron and starch them if you are going to put them on a tree.
I hope you get a chance to try them.
Thanks for stoppin' by and hangin' out.

I will be linking up to the parties on my party page. Please check them out.

share from crochettime.....free patterns
Beautiful blankets from Lionbrand Yarns
26MondayDec 2011
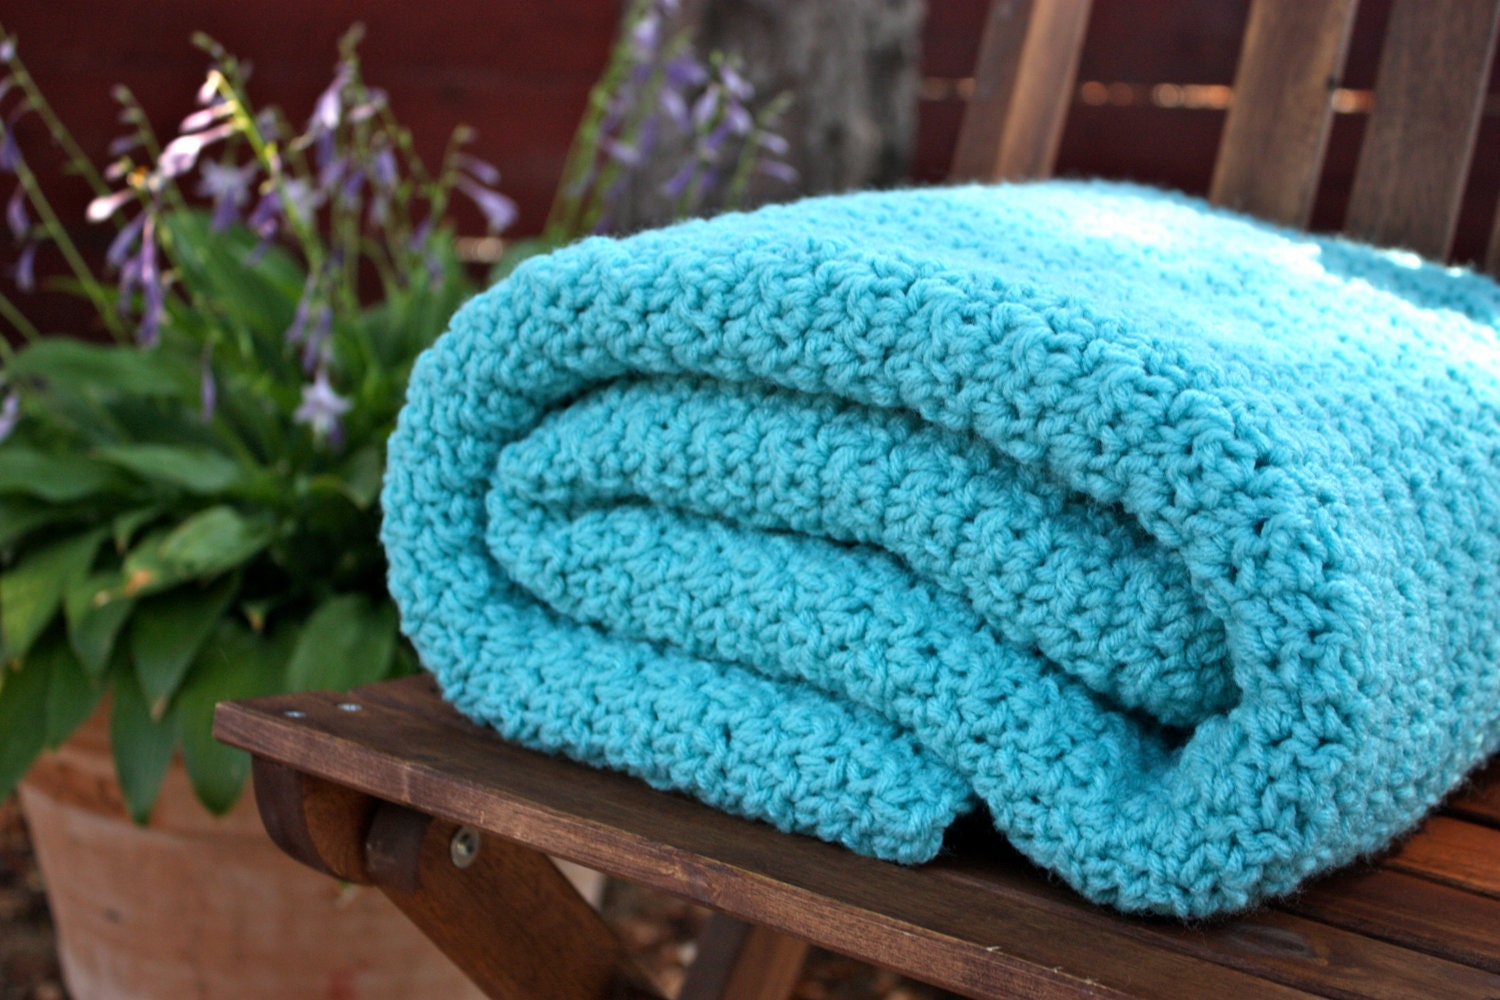
I totally fell in love with these afghans from Lionbrand Yarns! Especially the top one. It’s so so so pretty! I wouldn’t even change the colours, it’s perfect as it is.
Sunday, 30 October 2011
another craft gossip find with tutorial link
Posted: 29 Oct 2011 10:34 AM PDT
 Over at the blog Simply Me there is a wonderful tutorial on how to transform an old multi-pane window into a wonderful collage of wall art. Check out Valery’s tutorial on window pane collage art and make one yourself!
another vintage rake use - crarft gossip
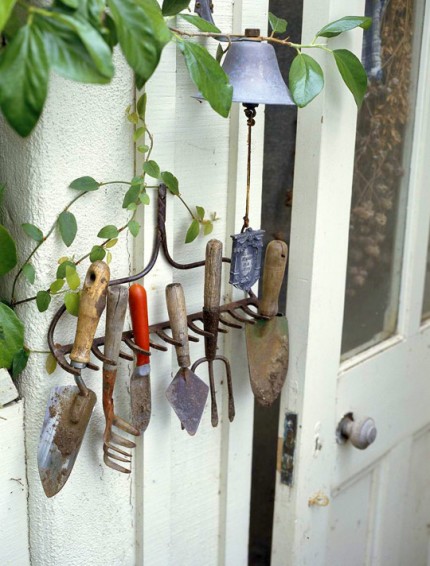 How brilliant is this? I love how simple but smart this is. Found this on Do It Yourself via Pinterest. — Outdoor Ideas – Accents – Garden Display – Do It Yourself.
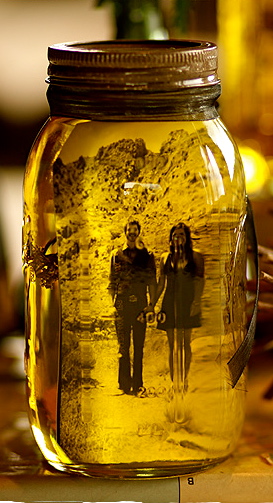
photo in a jar share - very creative
Posted: 30 Oct 2011 03:53 AM PDT
Etsy a must for all hooker inspiration finds
| "Handmade means creating that perfect piece while allowing the flaws to be a part of the perfection." — Kristen Dressler | | Image by KittyDune |
Subscribe to:
Comments (Atom)


