anatomy of a rag bag
Want to see how the easy peasy crochet bag works up in rags???

I've cut my fabric into half inch strips using this method, and used an 8mm crochet hook. Because the fabric does not 'give' in the same way which yarns do, there is a tendency to work with too much tension... which results in painful wrists. My recommendation is that you focus on keeping your tension loose. Relax your grip. Perhaps even change your technique a little. For example, I would usually grip the hook in a 'pen-like' manner... but when working with rags I switch to a 'knife-like' grip. You just need to experiment a little to find what works for you.
This will be a multi-coloured bag, to use up some of my oddments of rags. When changing colours you can use this method to join in the next 'yarn'.

I'm starting with this assortment of rags. I have 10 different prints here.
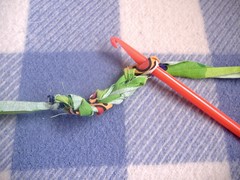
Here's the 5 starting chain, plus a turning chain for luck!
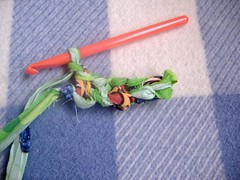
Now the 5 sc... and another turning chain
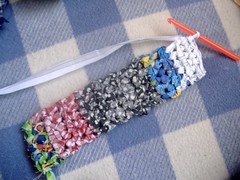
20 rows of sc and the base is complete
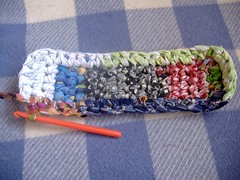
Starting round of sc along the sides of the rectangle

Keep spiralling around in sc.
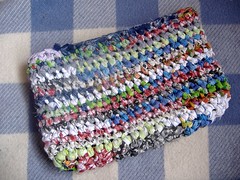
15 rounds of sc and the body is complete
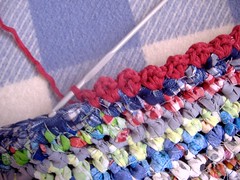
Time to choose a colour for the trim. I like to pick one of the colours in the bag to accentuate. In this case I would choose either the green, blue or red. The green will be too gaudy for my taste... a little in the bag is fine, but I don't want to make it more of a feature. Blue is not a bad choice, but a bit too subdued. I'm liking the red.

Picot trim in red using a 4.0mm hook and thick cotton.
Choosing a colour for the handles. Nothing too bright, I'm going to go with navy.

3 starting chain, plus a turning chain for luck...
3sc plus another turning chain... repeat until desired length
then make another exactly the same
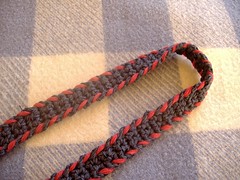
Add some colour.
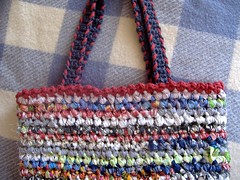
Attach handles to bag.
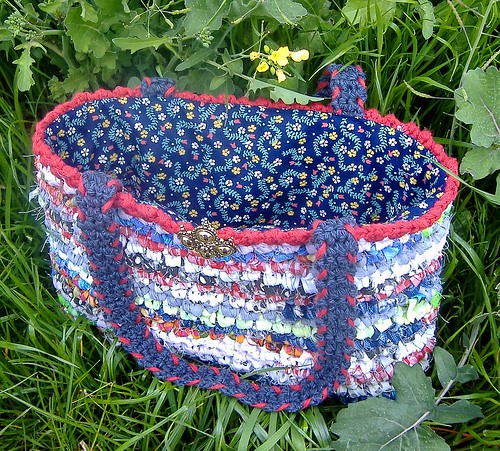
Pop in the lining... tutorial here
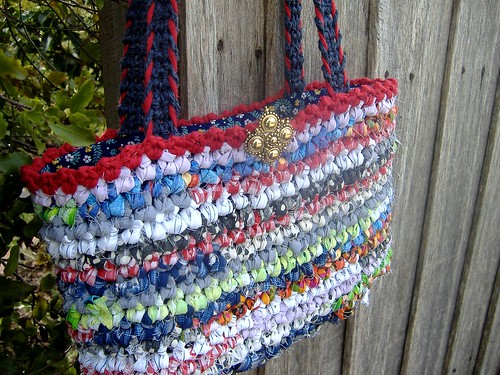
I've added an old clip-on earring as a removable embellishment, and the job is done!

I've cut my fabric into half inch strips using this method, and used an 8mm crochet hook. Because the fabric does not 'give' in the same way which yarns do, there is a tendency to work with too much tension... which results in painful wrists. My recommendation is that you focus on keeping your tension loose. Relax your grip. Perhaps even change your technique a little. For example, I would usually grip the hook in a 'pen-like' manner... but when working with rags I switch to a 'knife-like' grip. You just need to experiment a little to find what works for you.
This will be a multi-coloured bag, to use up some of my oddments of rags. When changing colours you can use this method to join in the next 'yarn'.

I'm starting with this assortment of rags. I have 10 different prints here.

Here's the 5 starting chain, plus a turning chain for luck!

Now the 5 sc... and another turning chain

20 rows of sc and the base is complete

Starting round of sc along the sides of the rectangle

Keep spiralling around in sc.

15 rounds of sc and the body is complete

Time to choose a colour for the trim. I like to pick one of the colours in the bag to accentuate. In this case I would choose either the green, blue or red. The green will be too gaudy for my taste... a little in the bag is fine, but I don't want to make it more of a feature. Blue is not a bad choice, but a bit too subdued. I'm liking the red.

Picot trim in red using a 4.0mm hook and thick cotton.
Choosing a colour for the handles. Nothing too bright, I'm going to go with navy.

3 starting chain, plus a turning chain for luck...
3sc plus another turning chain... repeat until desired length
then make another exactly the same

Add some colour.

Attach handles to bag.

Pop in the lining... tutorial here

I've added an old clip-on earring as a removable embellishment, and the job is done!
No comments:
Post a Comment